MR2 Spyder Installing a new top
I'm attempting to document all the steps required to install an MR2 Spyder top. I haven't seen a set of instructions yet that had all the steps pictured. You must save a lots of fasteners and items from the old top including the rain rail, webbing cross strap and the wire with spring, don't throw anything away or cut anything. Careful, many of the parts aren't available from Toyota. I carefully saved the many special fasteners and bagged them according to the number of the removal step. I'd estimate that the labor to remove and install my top at 12-15 hours. Not for the faint of heart but can be done by the diligent DIYer. $1,000 labor to install at local top shop. It would help to take lots of pictures while removing the top, however I skipped that step. I watched lots of youtube videos but didn't find one very complete. Some more details by another SpyderChat friend: www.spyderchat.com/threads/ragtop-i-d-anatomy-and-terminology-for-the-component-parts-of-a-ragtop.117345/
Gahh MR2 Spyder stayfast cloth top

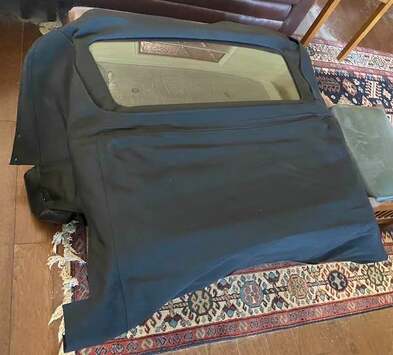
Top right out of the box.
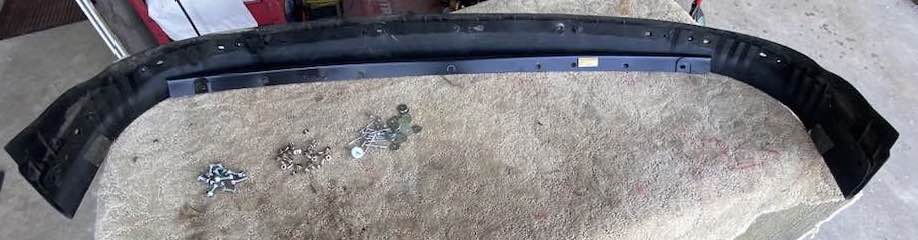
The bolts on the left are to temporarily hold the rain rail while pop rivets installed. The center fasteners came with the top and I won't use them. I'm using 1/8 inch pop rivets with fender washers on the right, much easier.
Attach the rain gutter to the rest of the top. I first used bolts before pop riveting the gutter to the top.
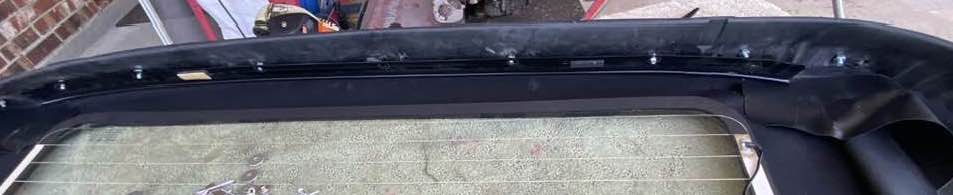
Pop rivets installed
Fish webbing strap taken from old top into new top. Fish wire from old top through, spring on each end.
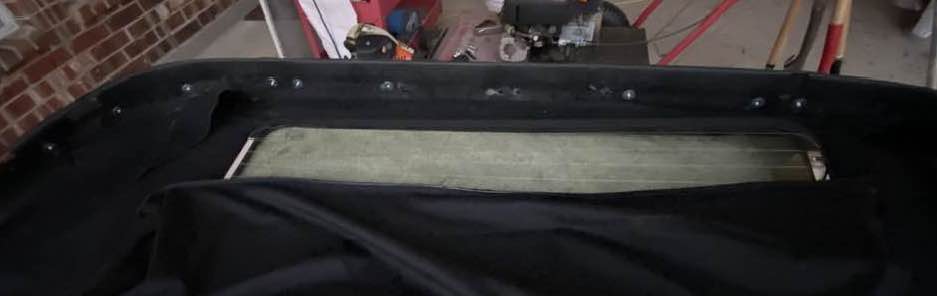
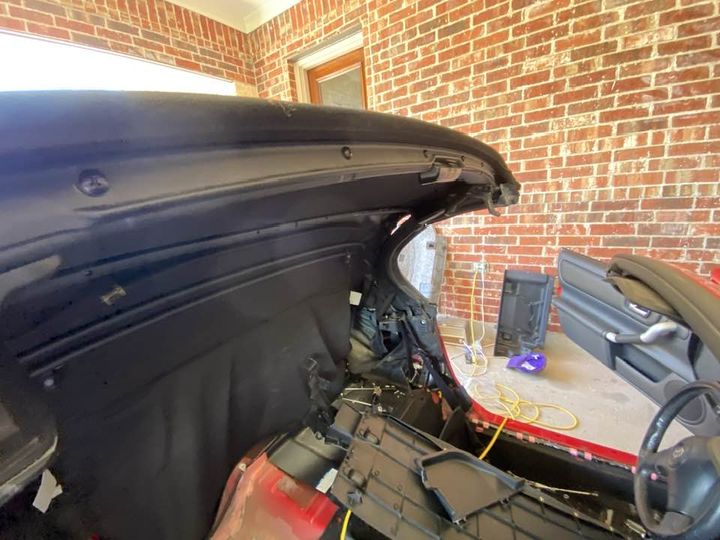
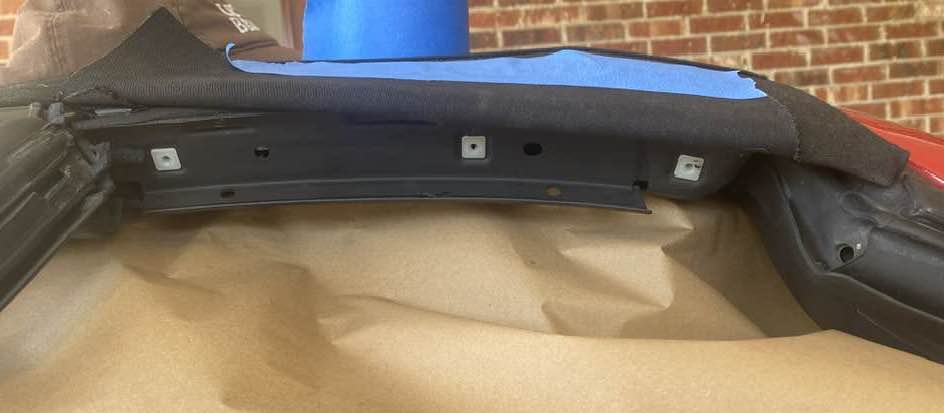
Next install the U shaped trim piece with 7 bolts. Remove the cross brace for more installation room
|
|
7 nuts and rain gutter retainer before rain gutter installed. This is a test fit. The rain gutter cover must be installed to cover the gutter. This insures water is diverted to the drains on each side.

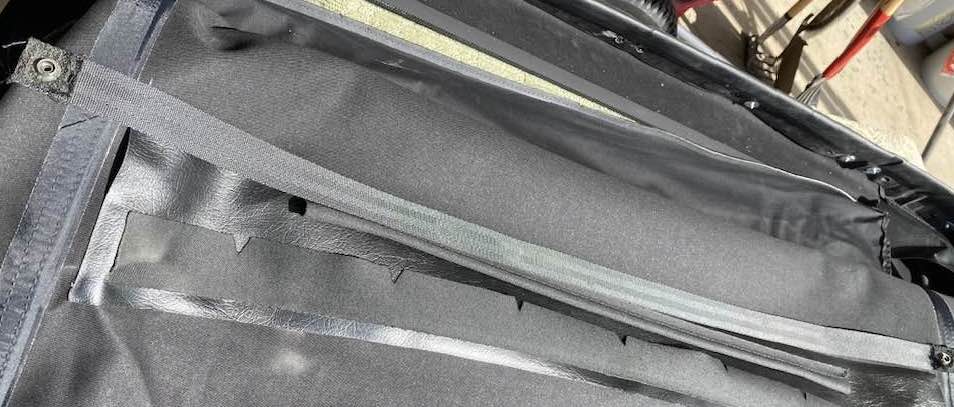
Pull back rain gutter and then install rain gutter cover,
Rain gutter and cover installed. When I took the old top off I misplaced the cover and had to find and install it for water drainage.
Quarter panel on each side
The top front lower corner. The attached clip must be folded into the top cornet. The loose clip must be pointed to the back of the car.

Clip with stud and pin must be pushed into the corner of the top
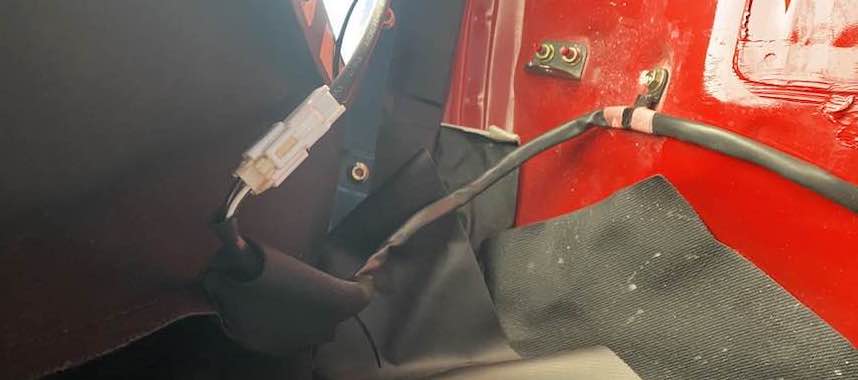
Connect rear window defroster cable
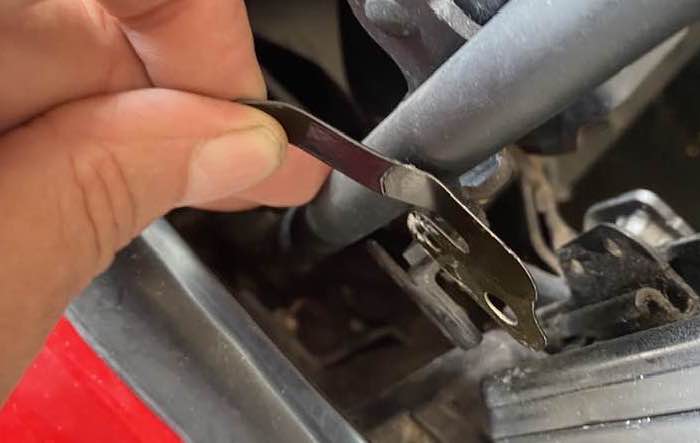
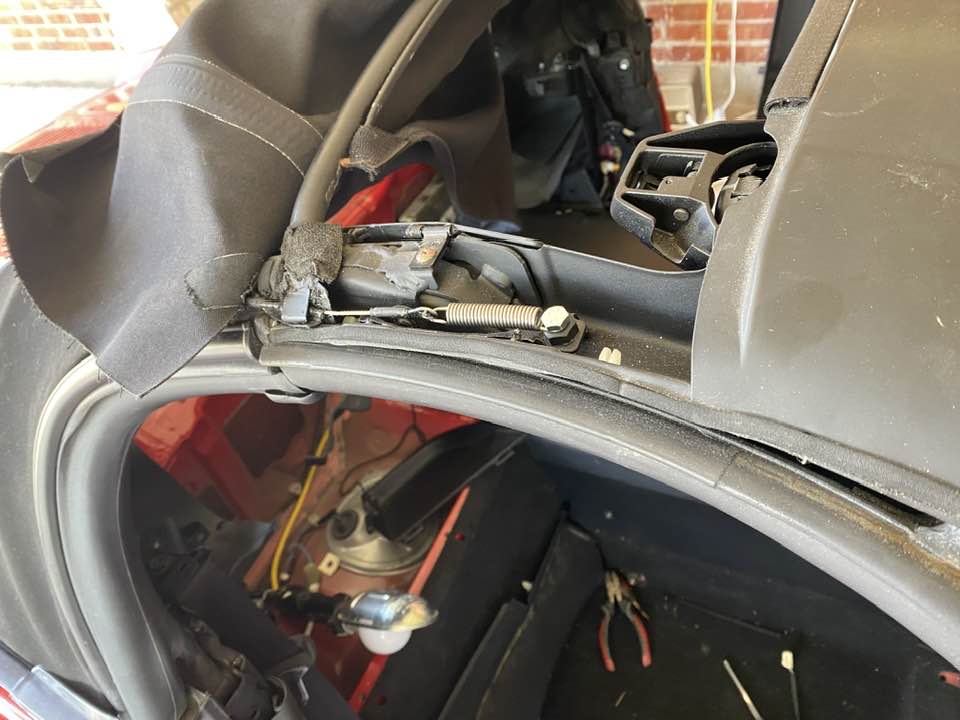
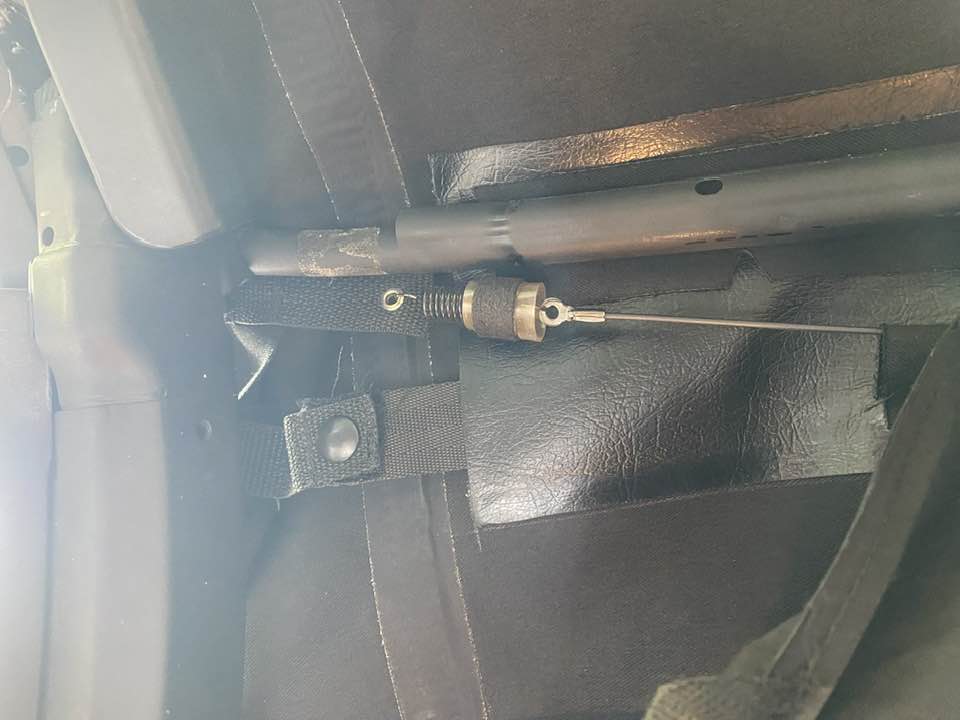
Attach spring with screw, note stock screw didn't work with my top had to replace with m6 without washer
Attach small quarter flap with zip ties, both sides
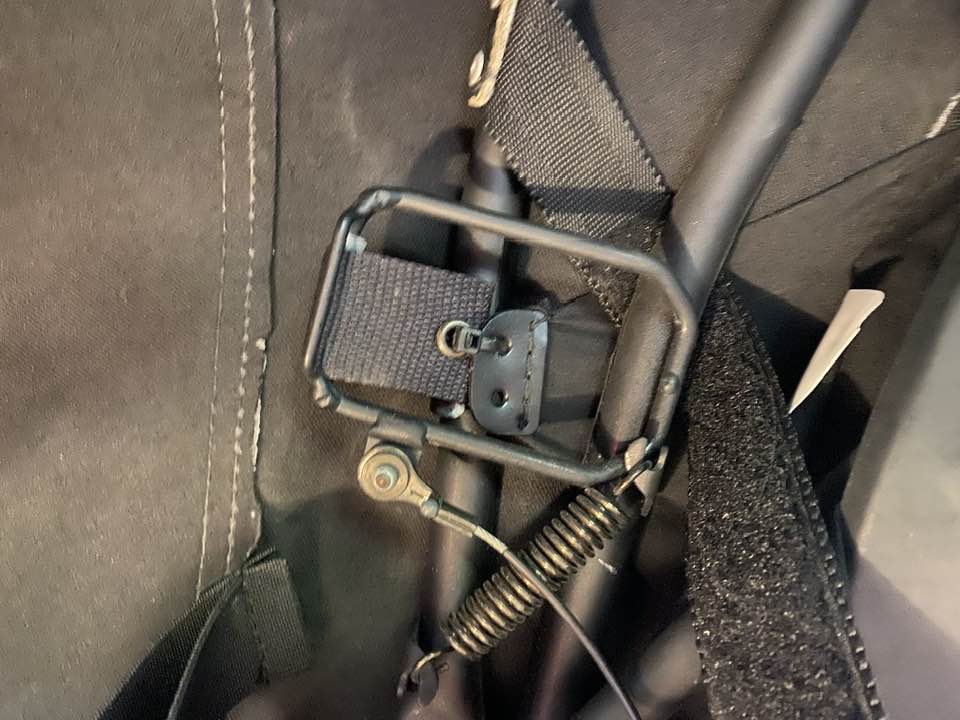
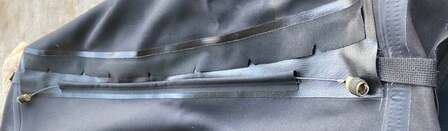
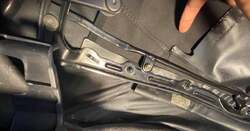
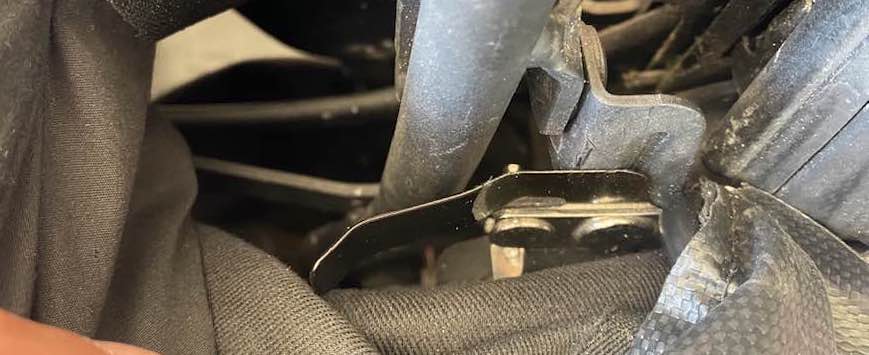
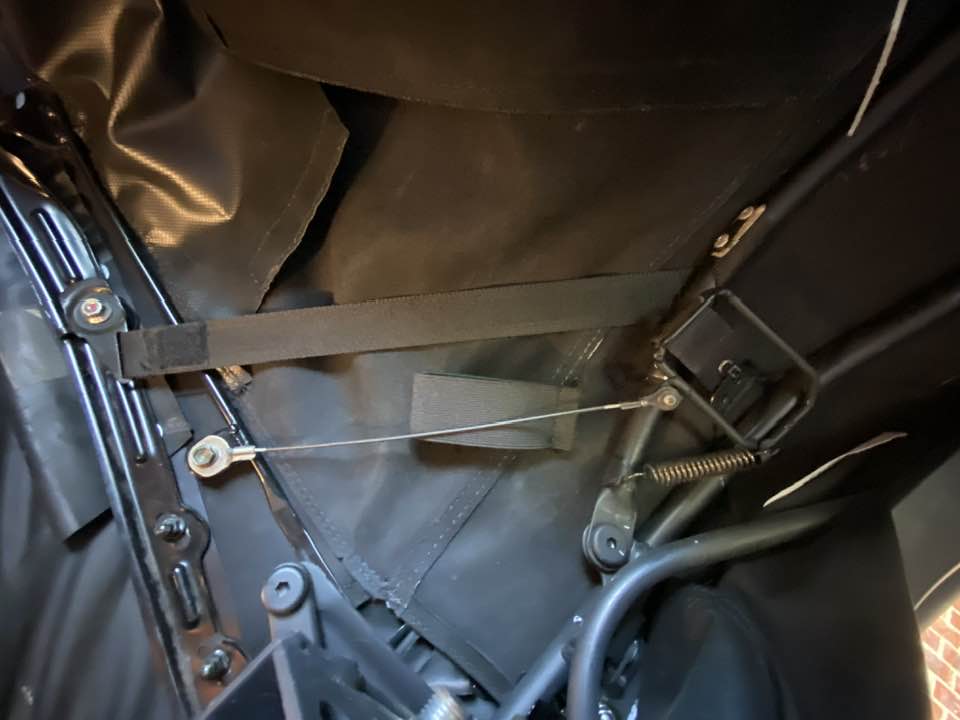
Attach rear bow locator cable to rear quarter brackets, attach bow tightener strap to rear quarter brackets
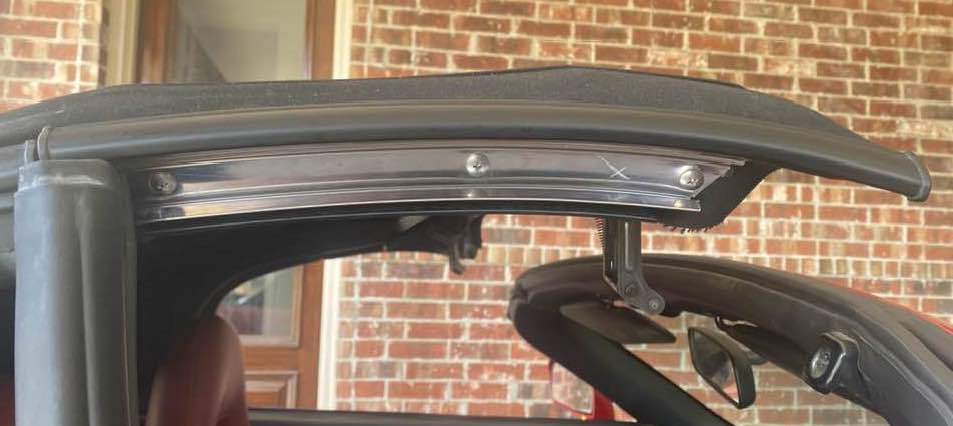
Header bow retainer with 6 philips screws
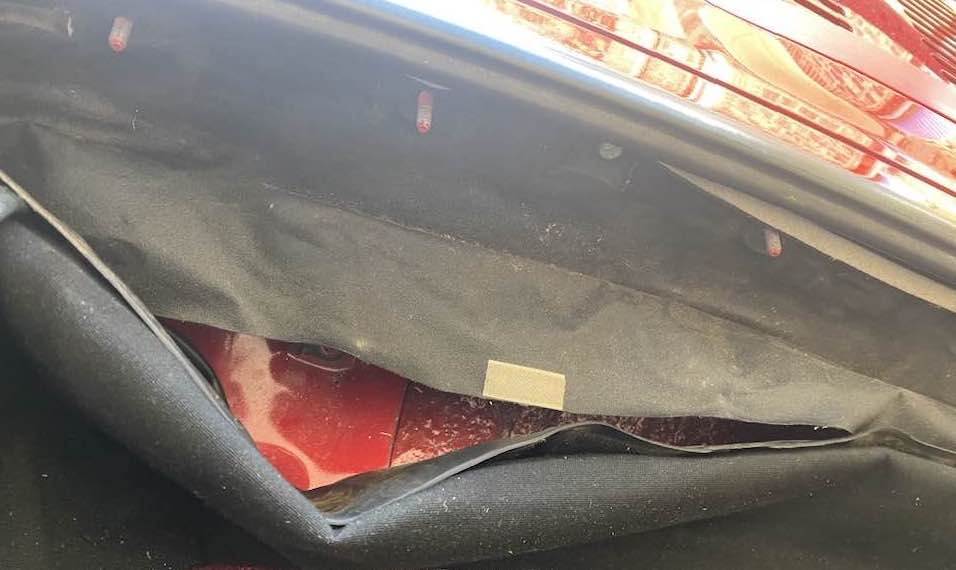
Hook cross wire springs on each end and cross strap.
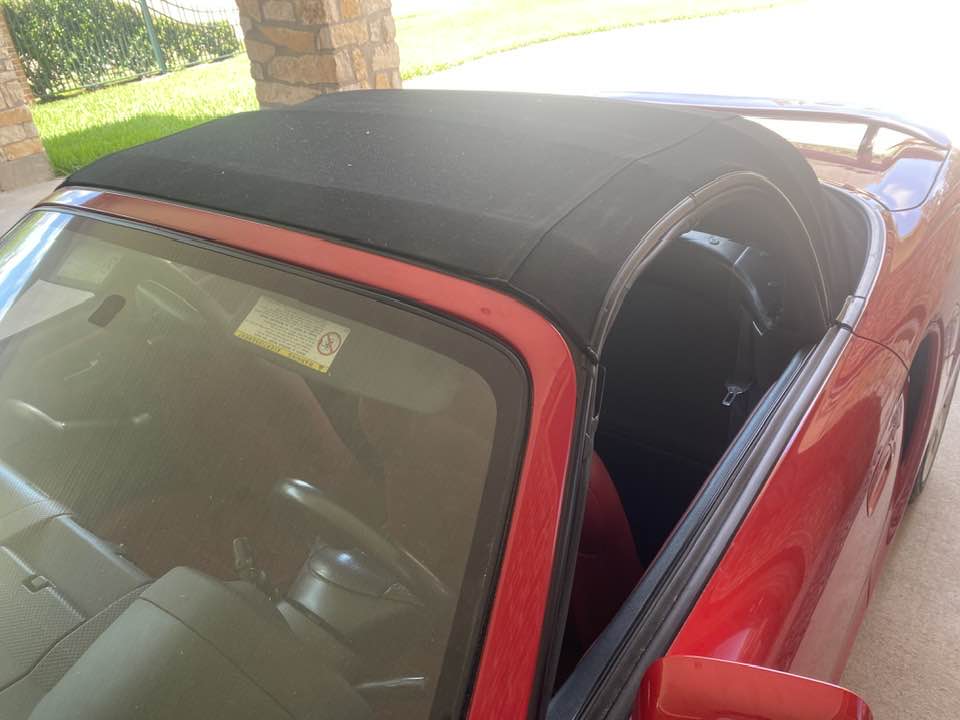
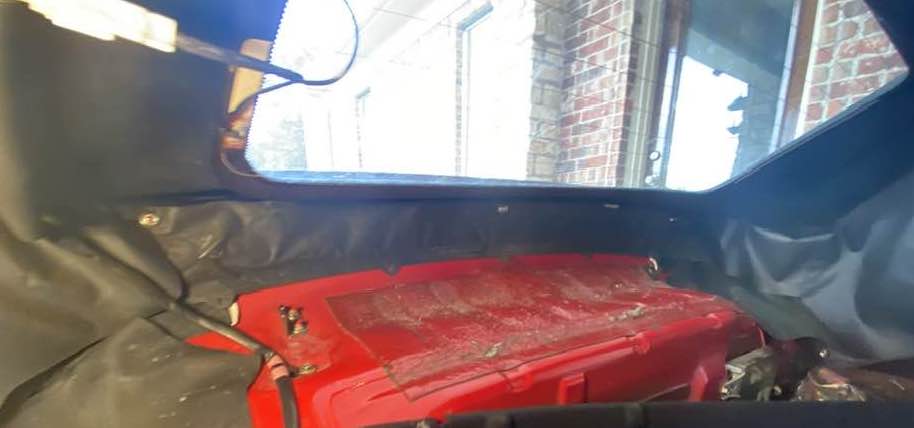
One of the last steps installing the top. Had to let is soak in the 101F Texas sun all afternoon before it would stretch to close. I was afraid it wouldn't stretch enough!
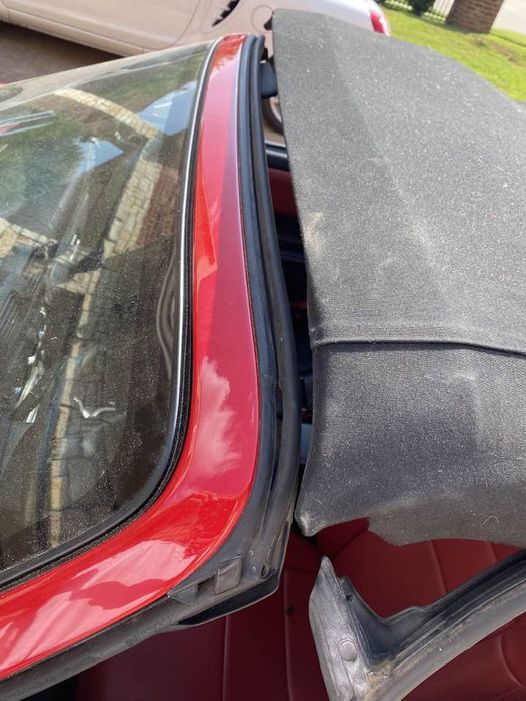
Install side weather strip retainers. I used contact cement to hold the stayfast material in place
Weather strip in place. Note the special stainless steel screws. I carefully kept them when I removed the top. There is another special screw holding a tee attached to the stripin the front. Front of the weather strip is held by one plastic fastener and one screw.
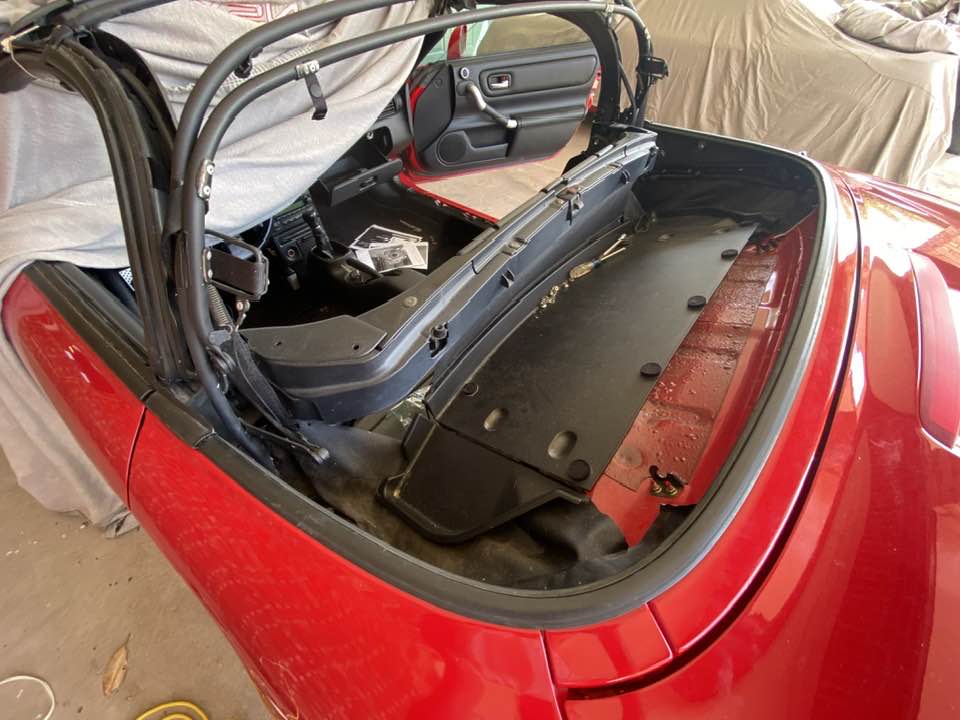
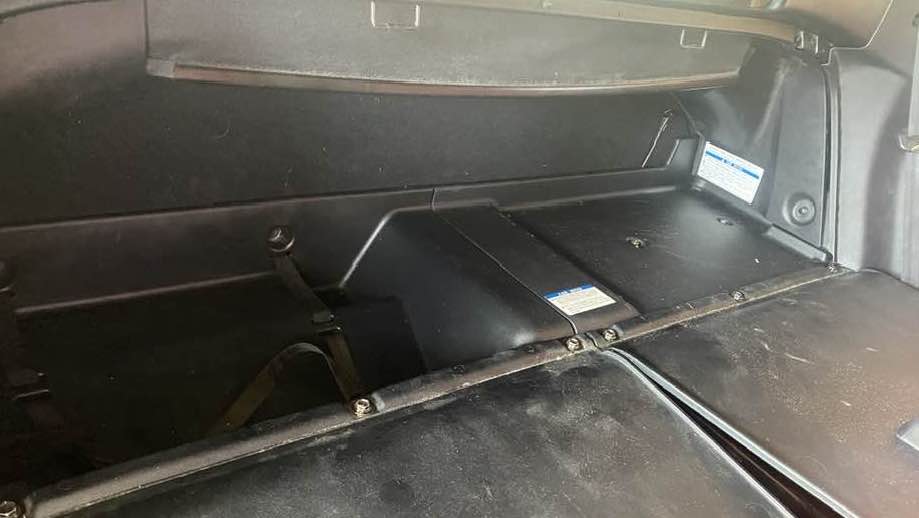
Cross brace behind the seats and storage trays.
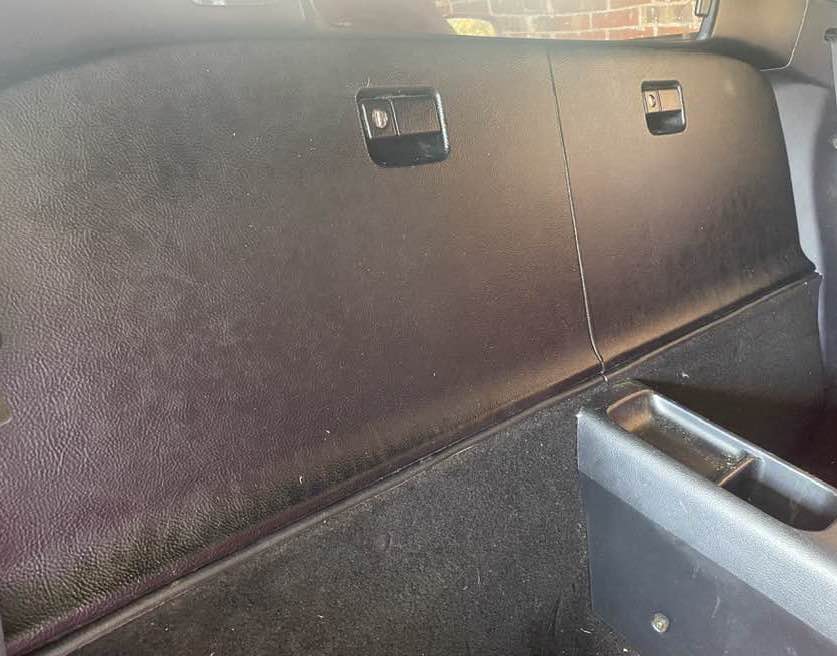
Cubby doors
Finished job. I'll have to agree that the Stayfast cloth is the best top material option. Be carefull however, I ordered a Stayfast top from Sierra a few years ago and they sent treated canvas instead of Stayfast.